[TUTORIAL] How to install OSCAM icam on OpenVIX 6.x – DVBAPI
Here is a tutorial on the installation and configuration of OScam 11718 patch v9 on the Vu+ decoder under a OpenVIX 6.3 image.
For this tutorial you need.
receiver supported by OpenVIX TEAM

Software:
Winscp for WINDOWS 10, WINDOWS 11
Putty for WINDOWS OS
A OScam-icam subscription
If you do not have a OScam-icam subscription you can order it here
1- Installing the OSCAM

Download Putty and launch it
1. type the IP address of your receiver
2. choose Telnet or SSH
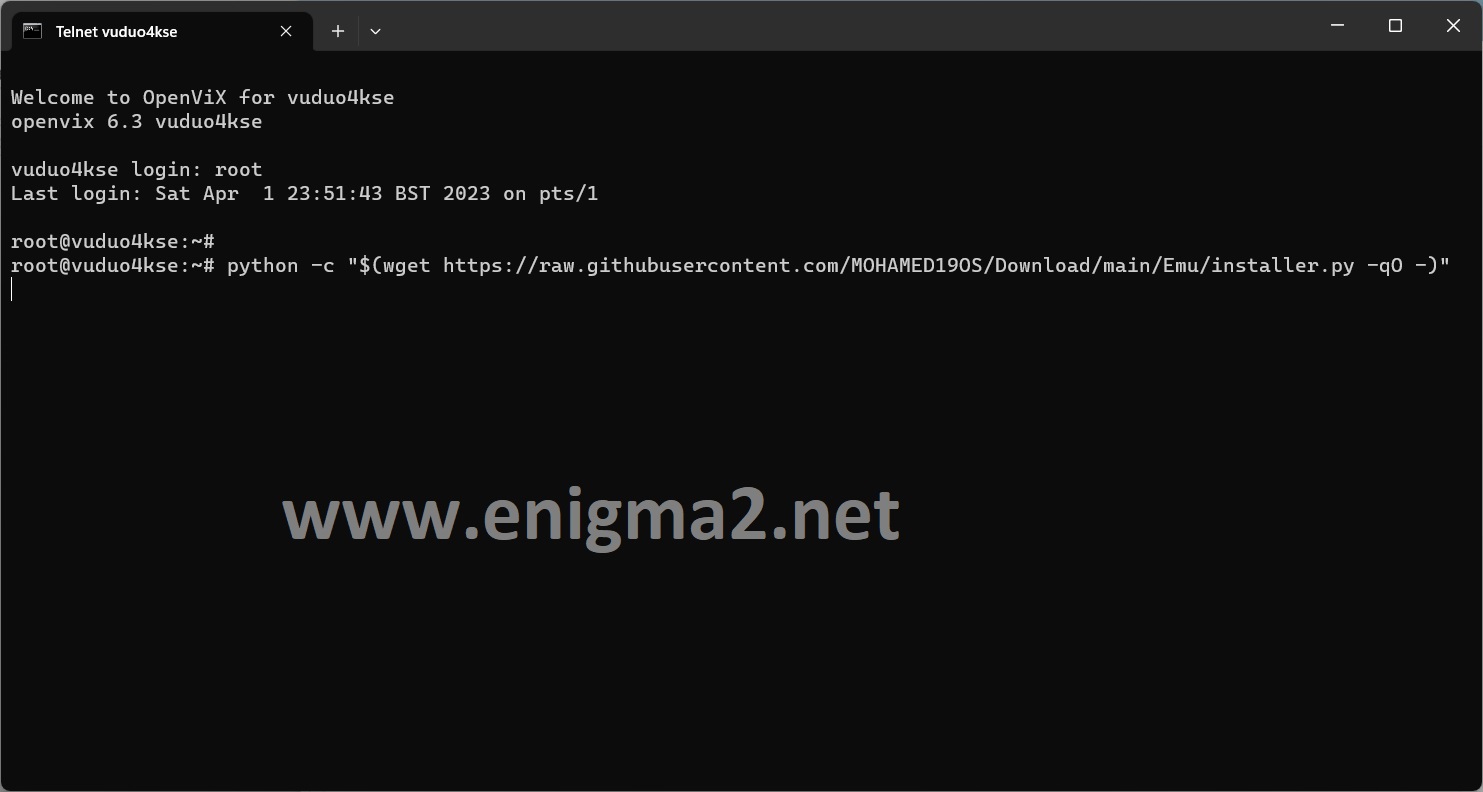
Type
User: root
Password: ”empty” no password needed just ENTER
copy and past the following script and press ENTER
wget -qO- –no-check-certificate “https://gitlab.com/MOHAMED_OS/dz_store/-/raw/main/Cam_Emulator/online-setup” | bash -s oscam
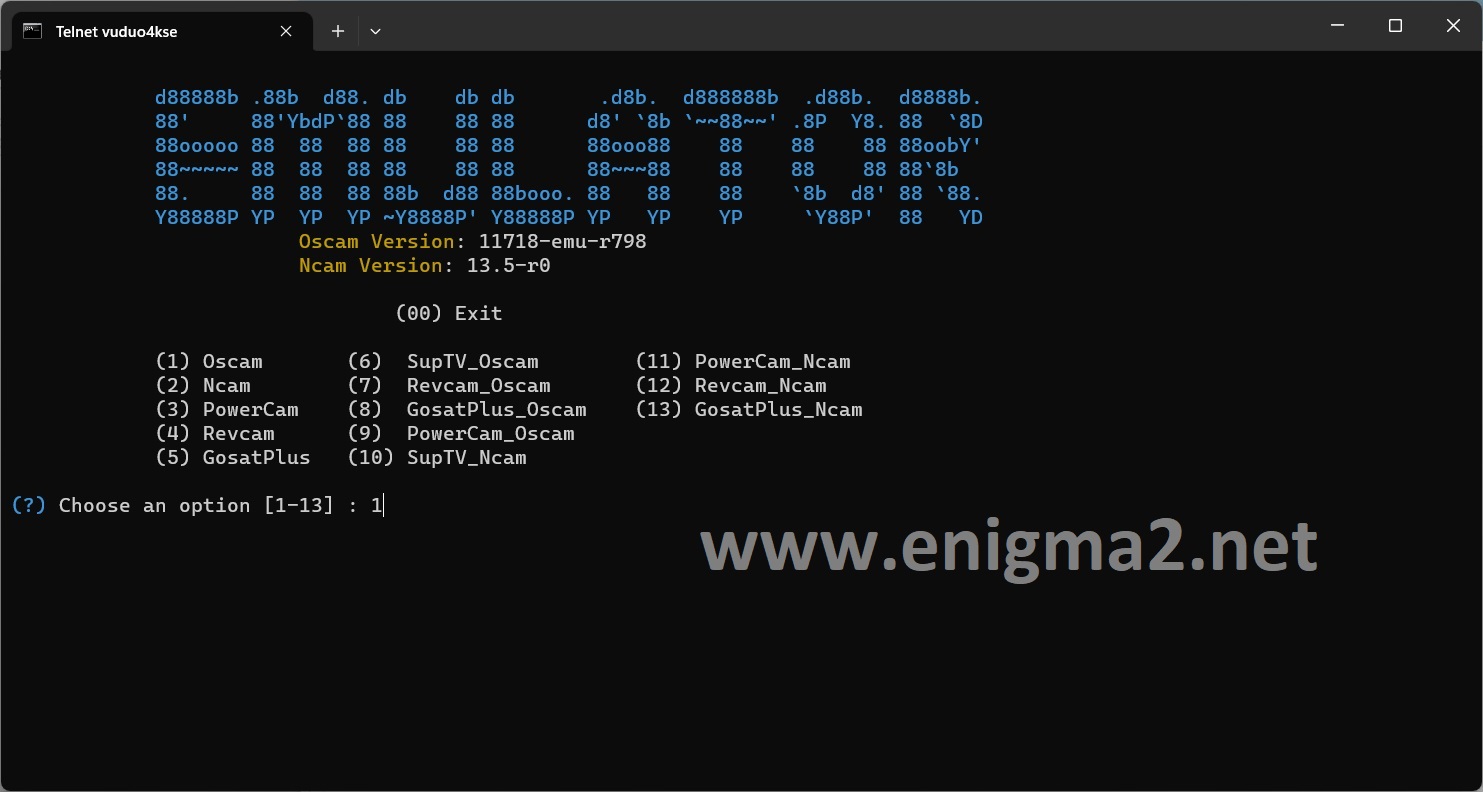
now type 1 to install OSCAM 11718 and press ENTER
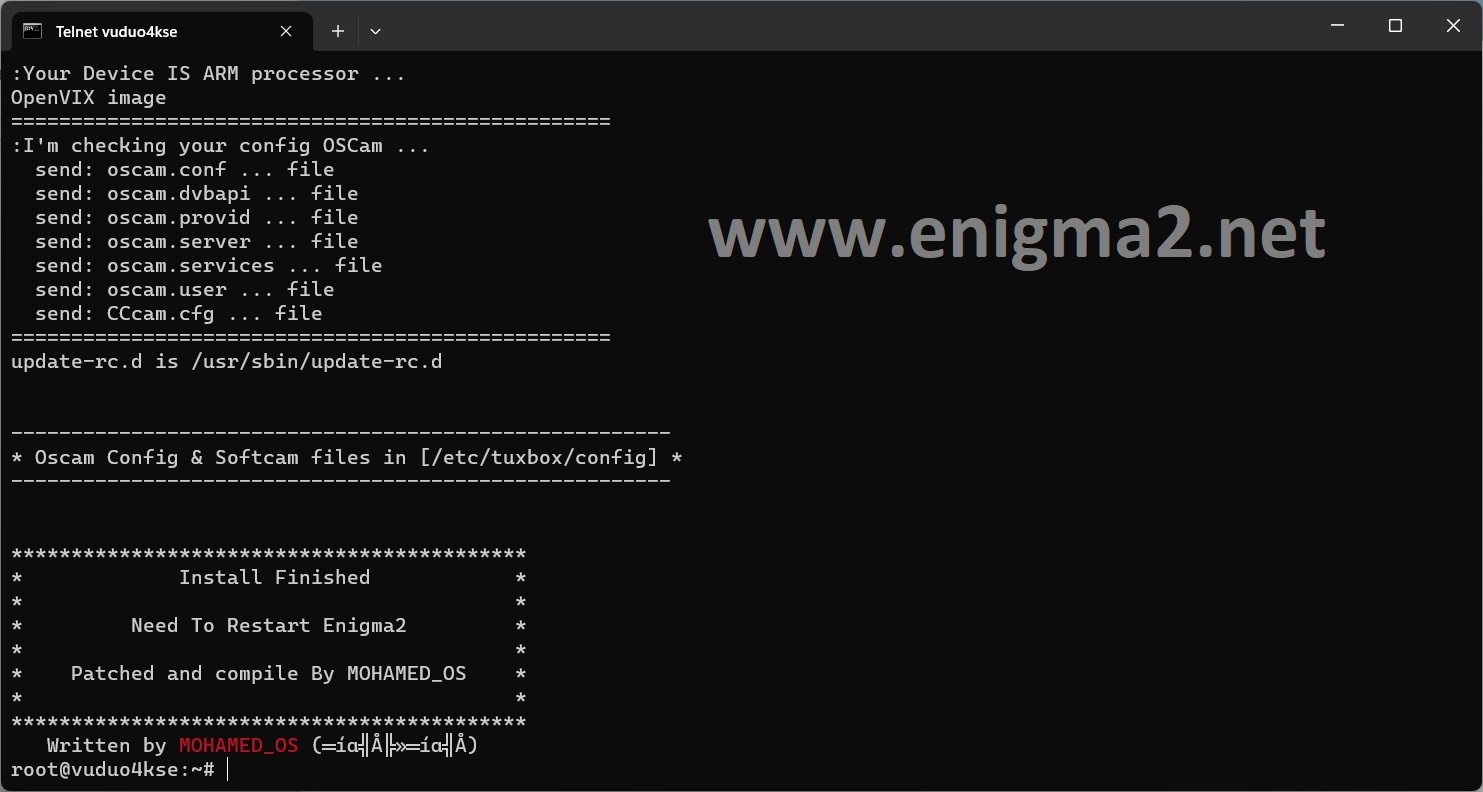
after installation your receiver will restart GUI.
2. Copy of the OSCam subscription
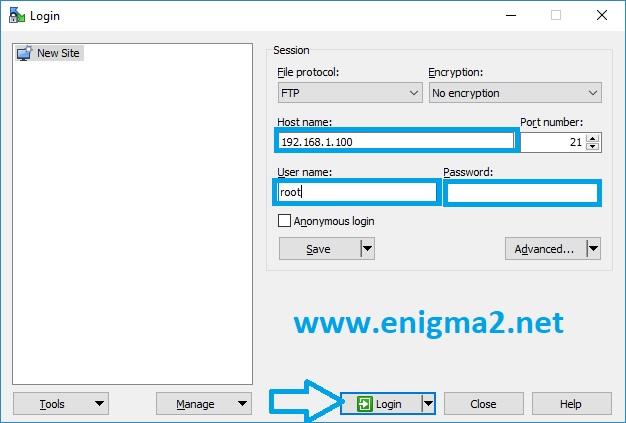
– Launch WINSCP in the home window
File protocol: FTP
Hot name: 192.168.1.100 (ip address of your VU+ )
User name: root
Password: “empty” by default the root password in OpenVUIX is empty (no password)
After clicking on Login
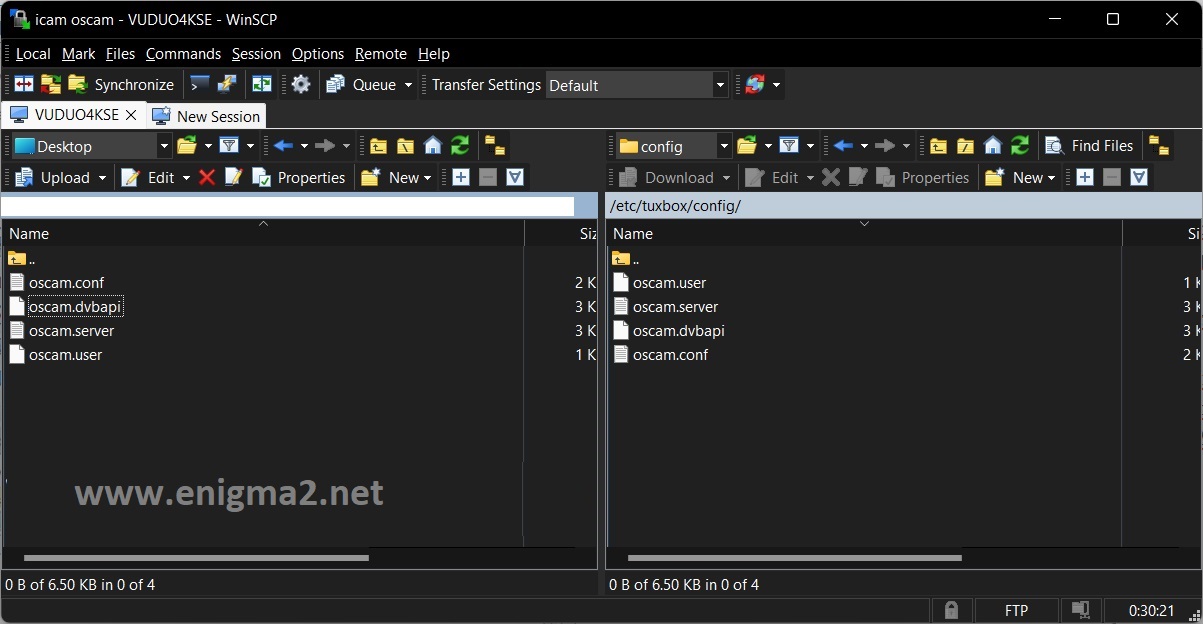
Copy subscription files from your PC to the /etc/tuxbox/config/oscam path of your receiver.
oscam.server
osam.conf
oscam.dvbapi
oscam.user
3. Starting oscam
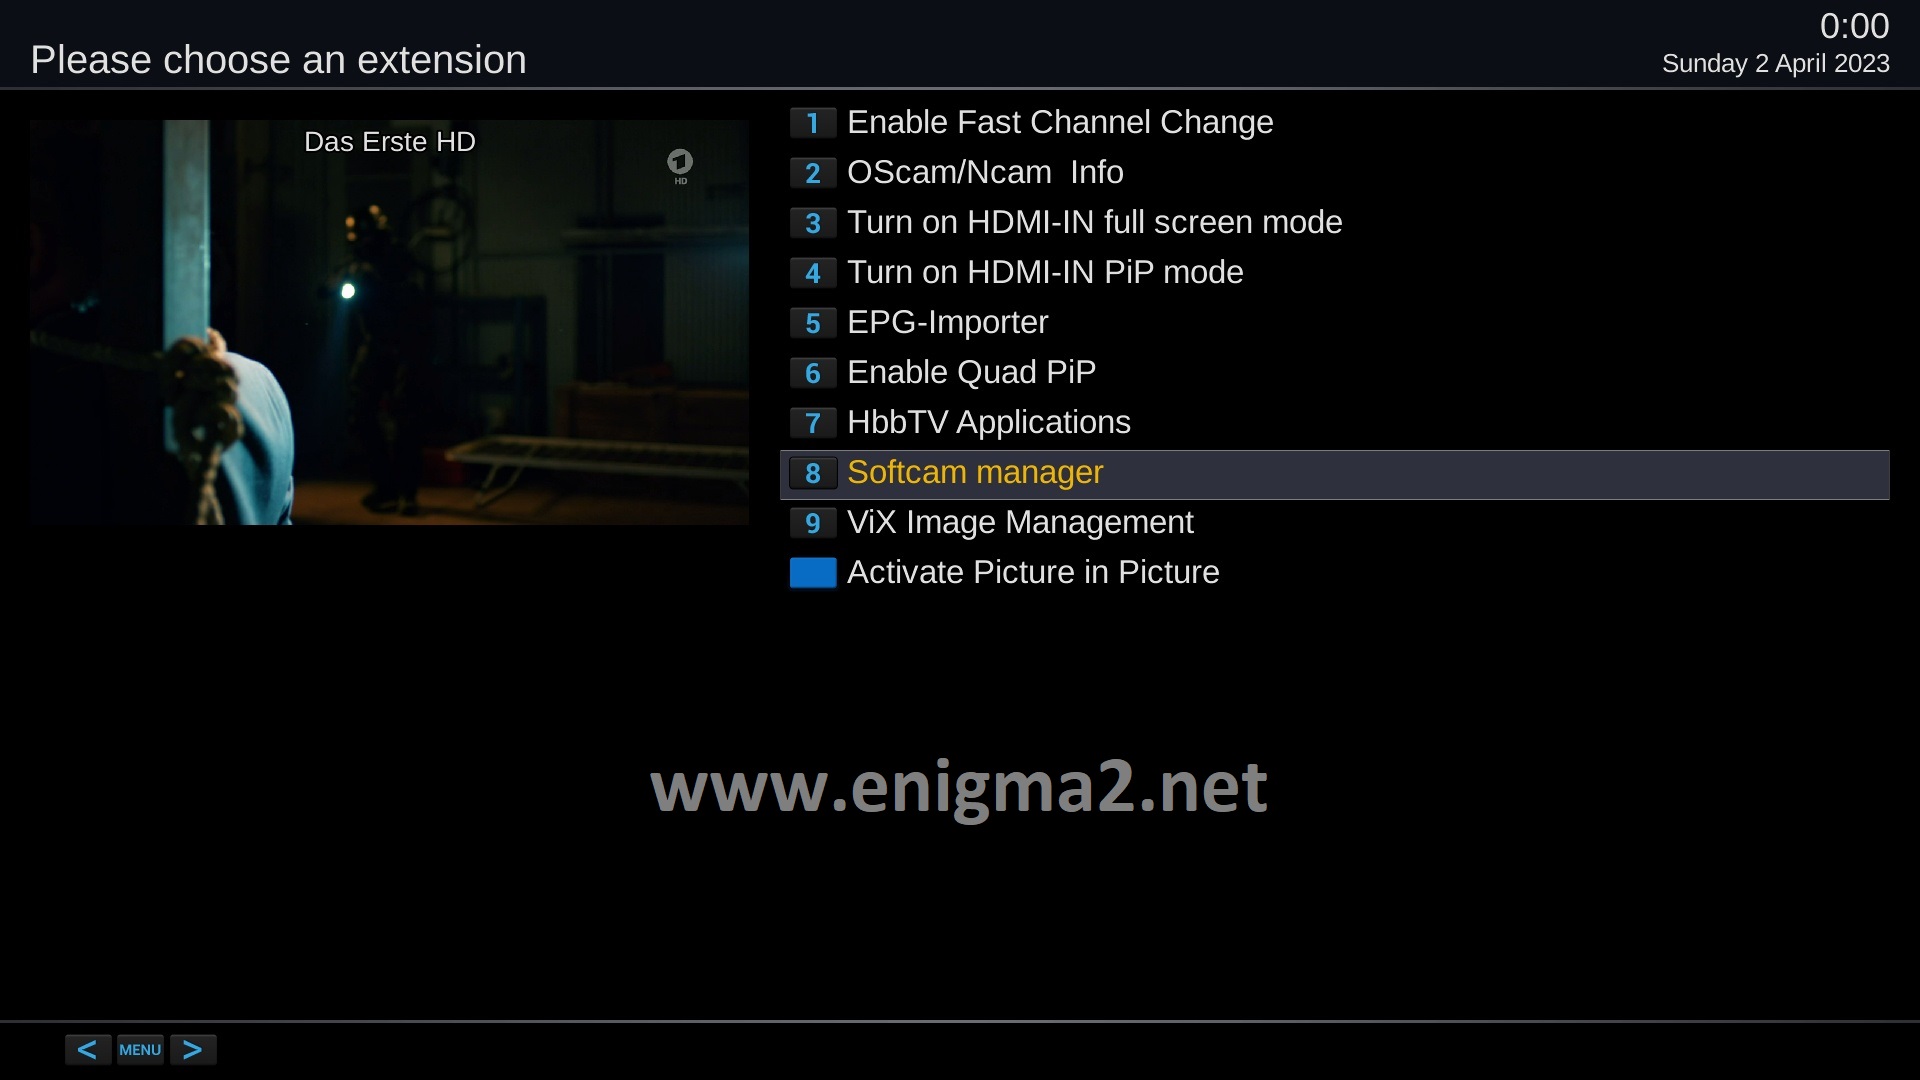
Press the blue button, select SOFTWARE MANAGER
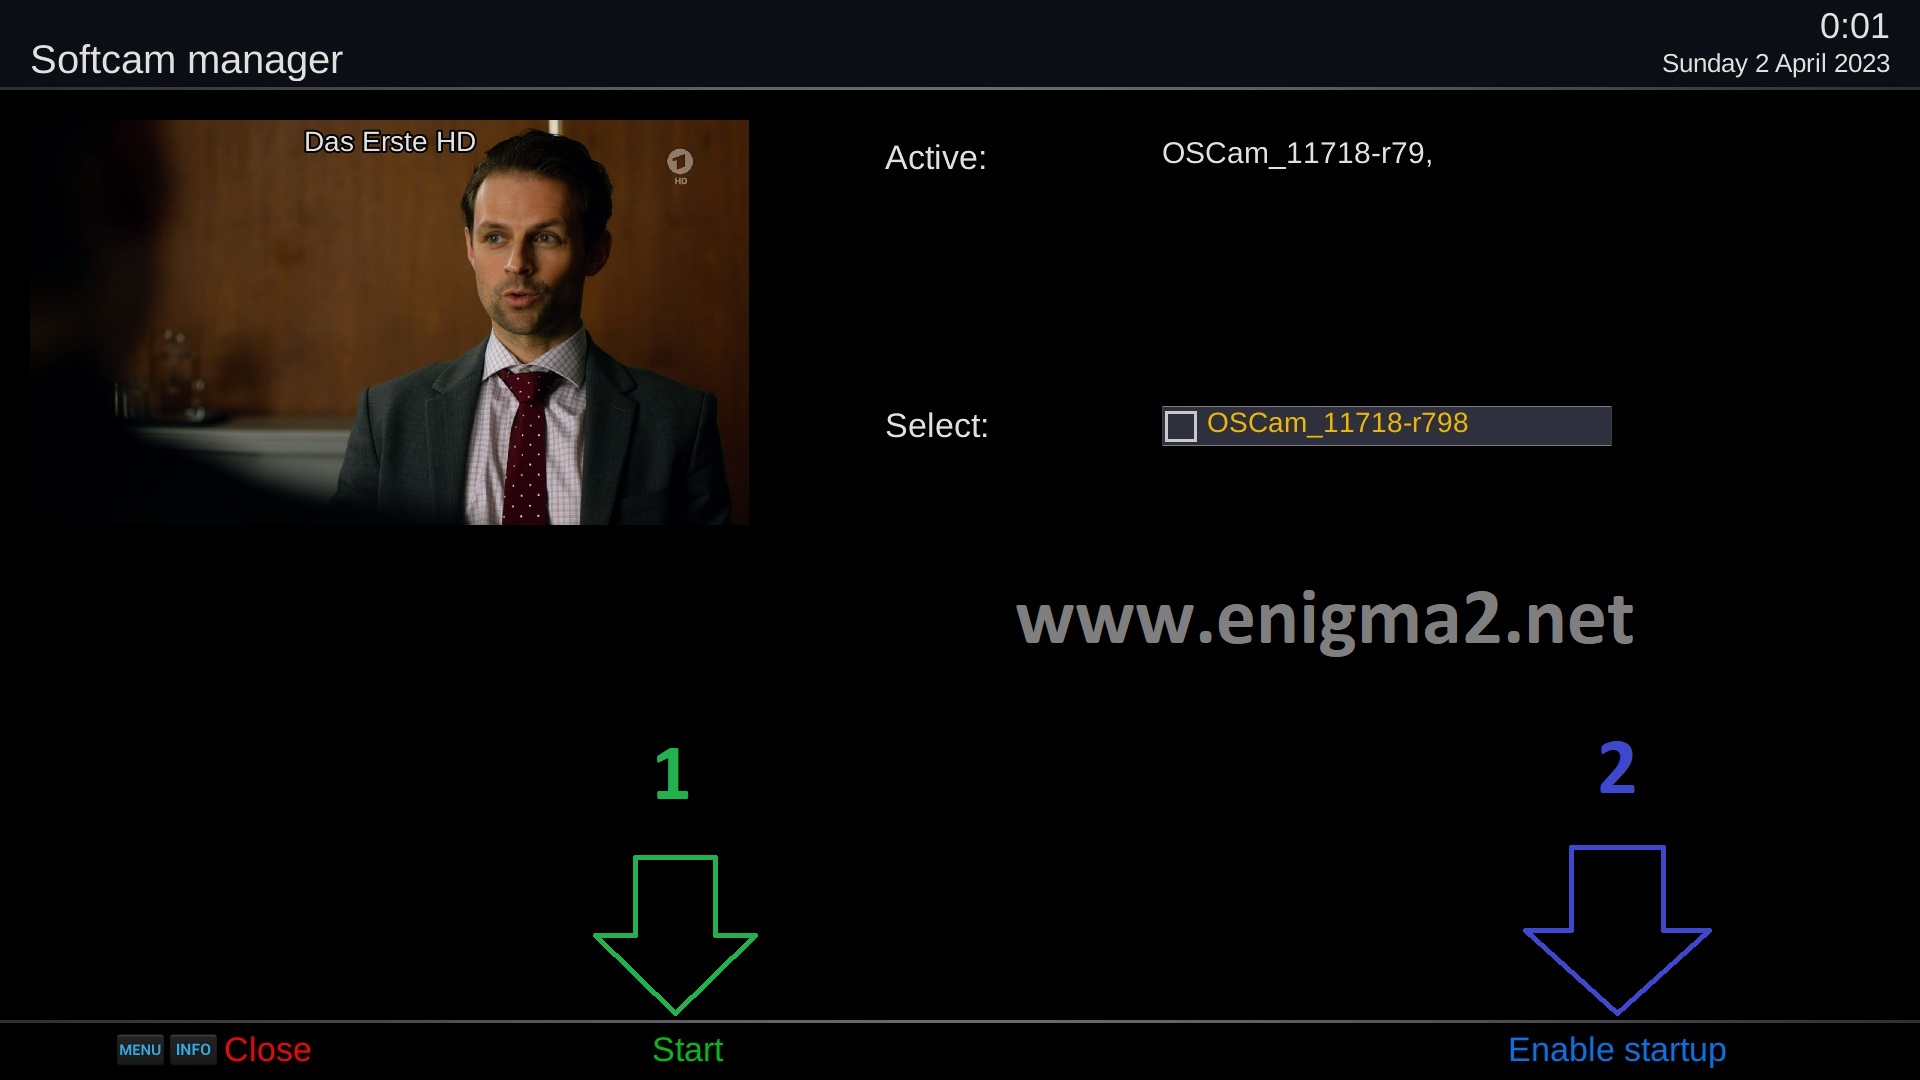
1- press GREEN button to start OSCAM 11718
2 Press BLUE button to enable startup of OSCAM 11718
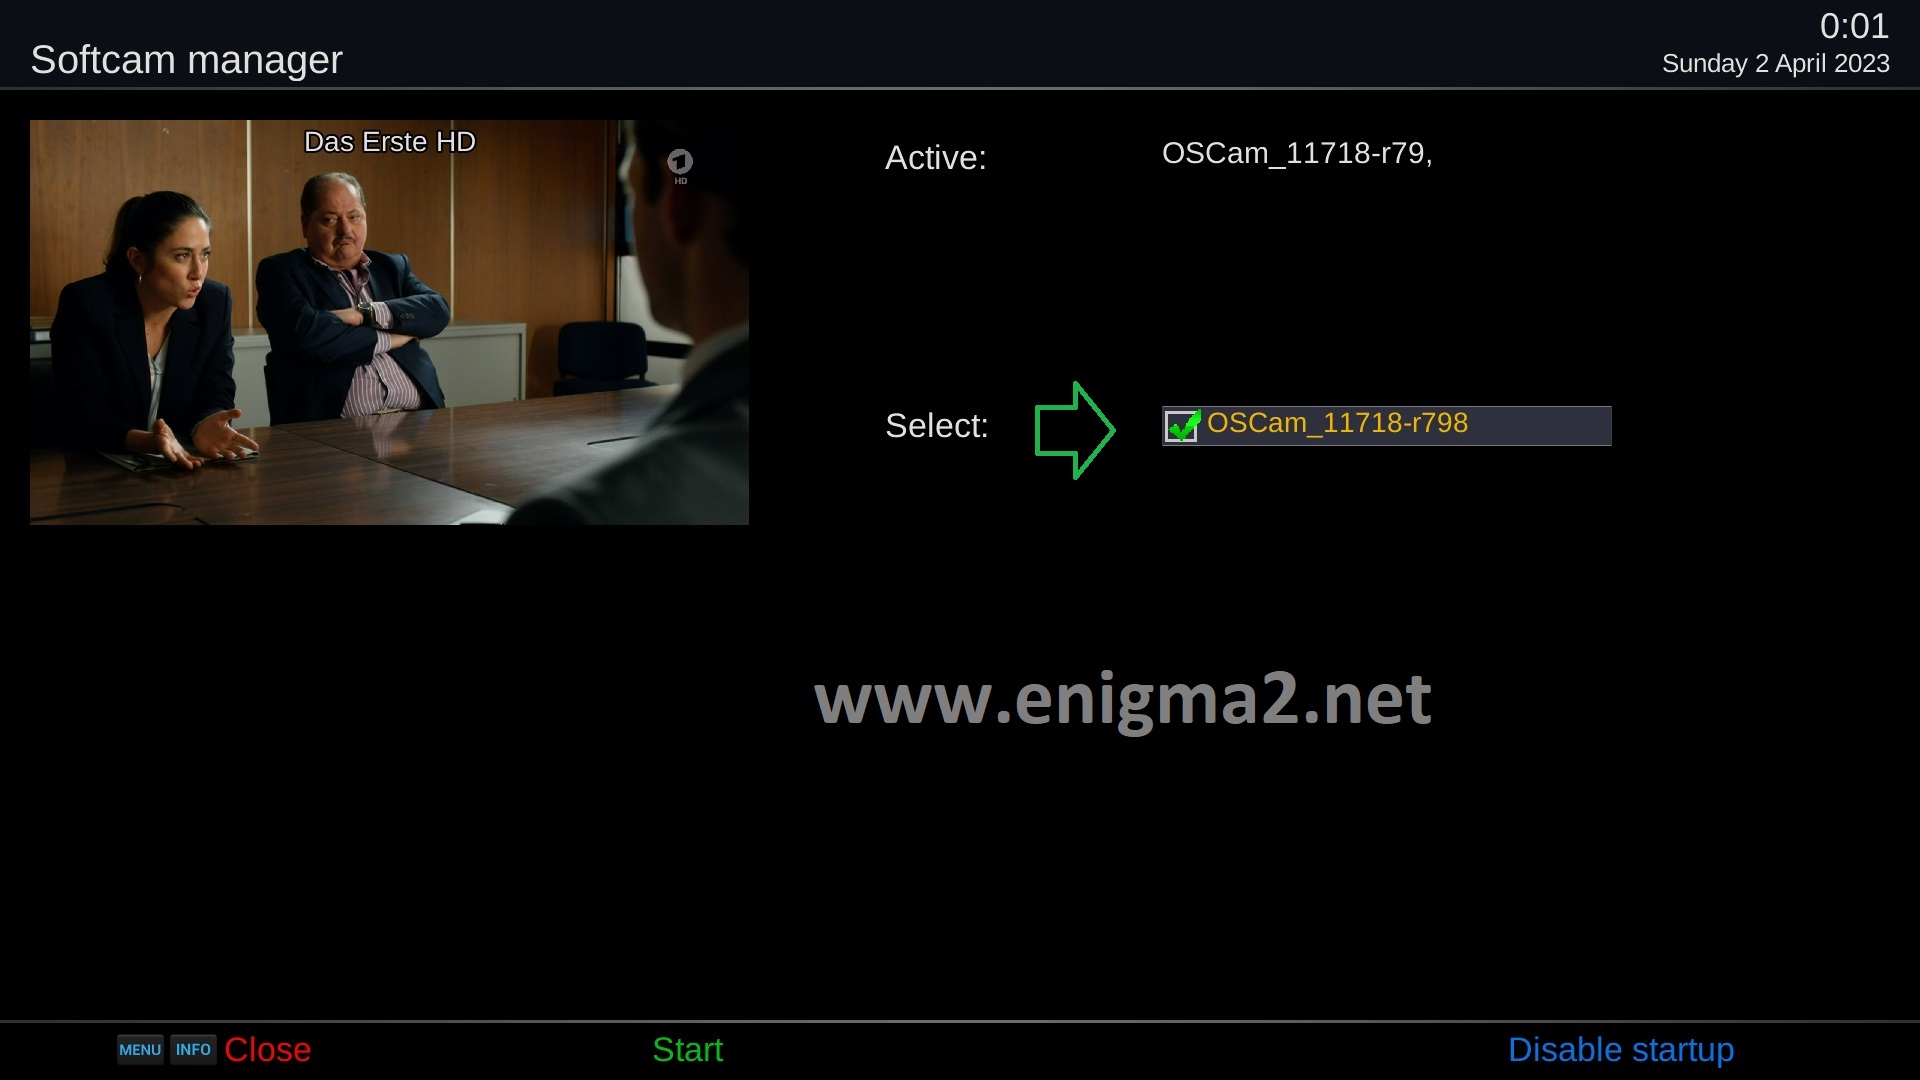
Please wait while starting OSCAM
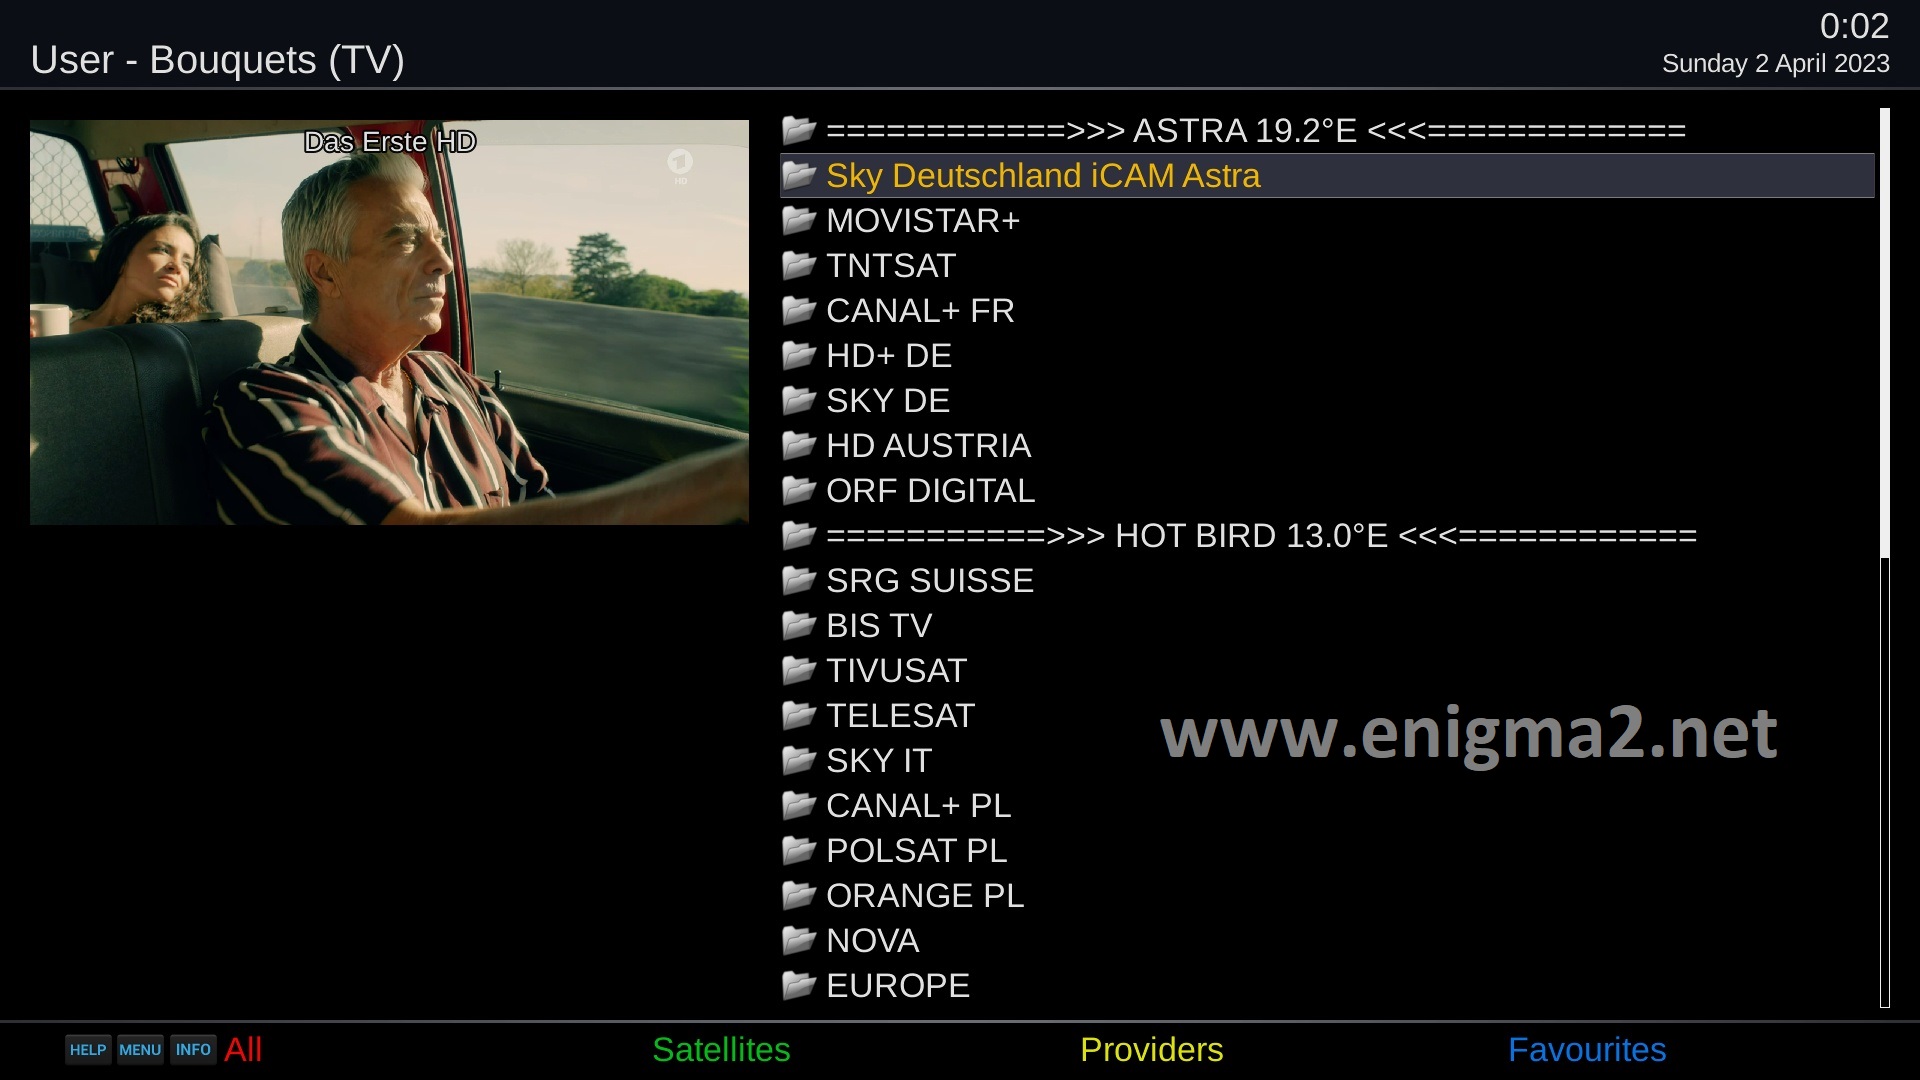
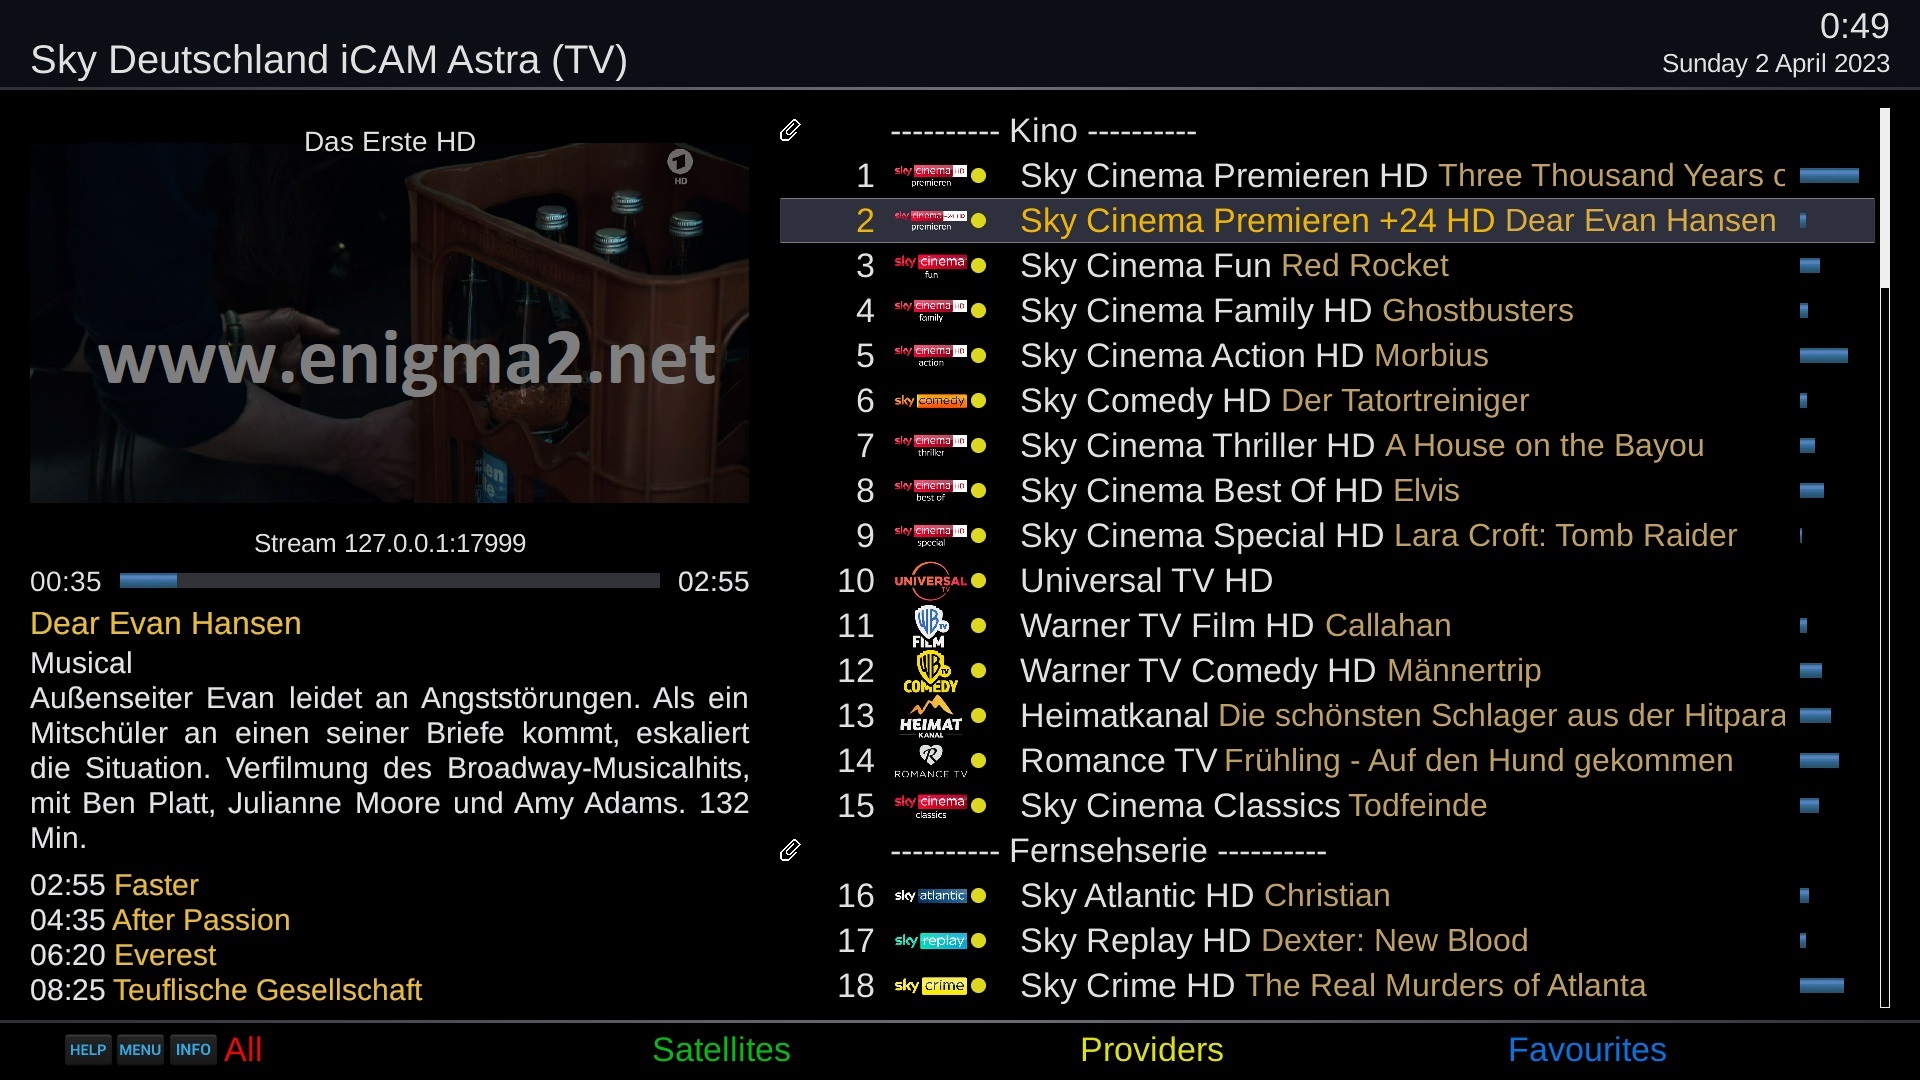
you will find new folder in channel list with the name : SKY DE – iCAM – STREAMRELAY
to get this channel list please send it by DREAMBOX EDIT or DREAMSET, E-channelizer
–>>> http://www.enigma2.net/channel-list-astra-19-2e-sky-de-streamrelay-icam-march-2023/
this channel list will be installed automatically with the script.
