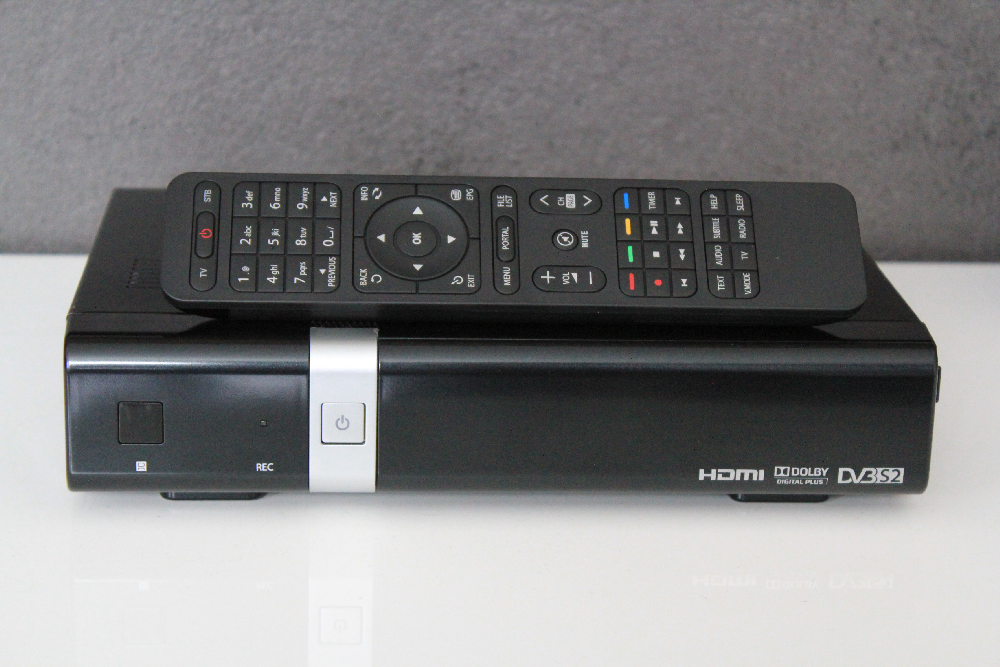
[TUTO] How To flash/update Maxdigital XP1000
What you need before we start:
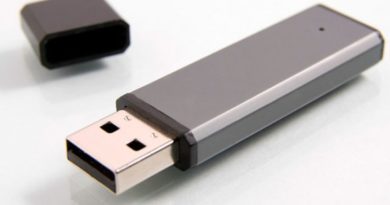
1) A USB stick formatted to FAT32. (Preferably compatibility issues while flashing the image).
2) Image of your choice.
3) Compression software such as 7zip, Winrar, Winzip
PREPARATION
1. Format a USB stick to FAT32.
2. Download the image of your choice and extract it to your desktop.
3. Open the folder you extracted to your desktop, in this case named openvix-3.0.748-
xp1000_usb.zip , you will see another folder named XP1000, this is your image file. Copy
the entire XP1000folder directly to the USB stick
Images for Maxdigital XP1000
![]()
Flashing the Receiver.
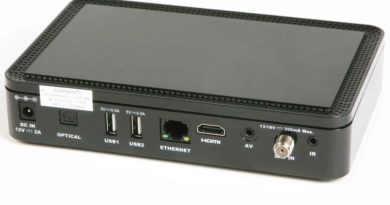
Fully power the receiver down via the rocker switch at the rear of the receiver.
1– Make sure no USB devices are plugged into the receiver at this point.
2– Insert the USB stick containing the image files into the rear USB port on the receiver.
3– Power the receiver on from the rear rocker switch
4– Wait for both the RED Recording LED and the LED on the front standby button to appear RED, once you see this you must press the CH+ located behind the flap on the front of the receiver to initiate the flashing process.
5– Wait for the image to flash, during this time the Standby button LED will appear purple to indicate that the image is being flashed.
6– When the flashing process has completed the receiver will automatically reboot.

-Warning-
During upgrading, please don’t unplug power or shut down STB.
Don’t power off within 5 seconds after upgrade is completed.


